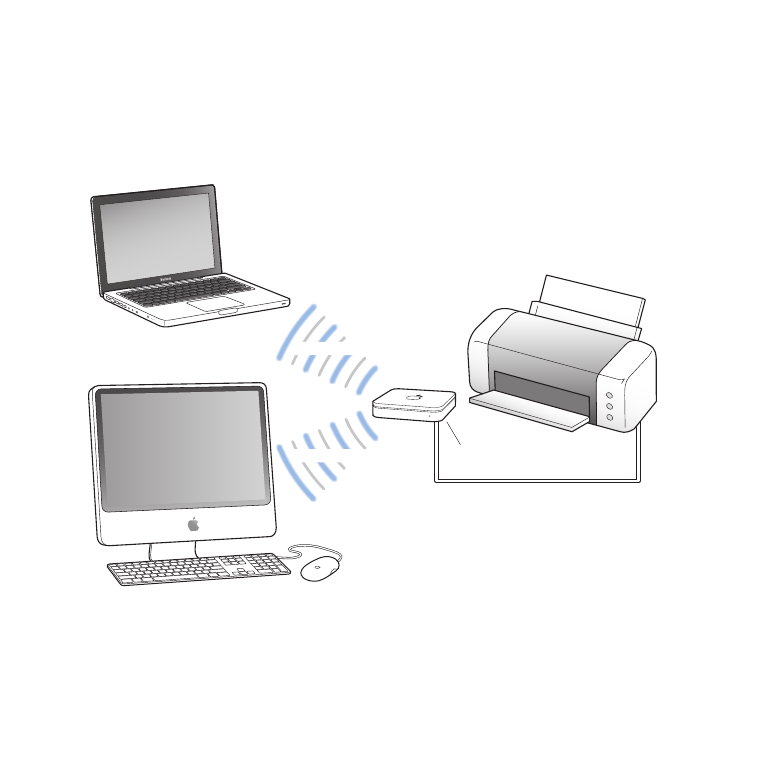
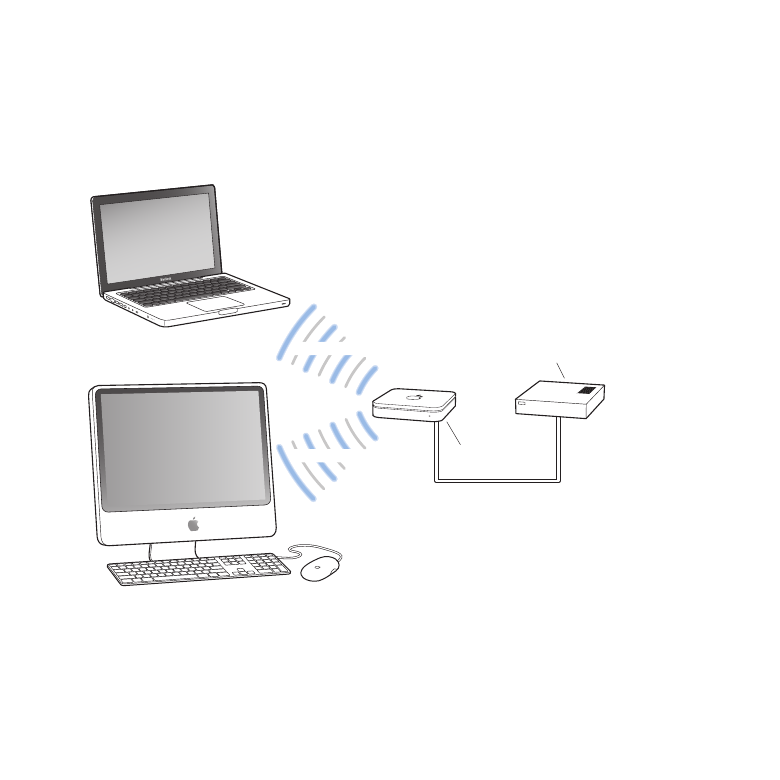
UsingtheAirPortExtremetoShareaUSBPrinter
When you connect a compatible USB printer to your AirPort Extreme, supported
computers on the network (wired and wireless) can print to it.
It looks like this:
USB port
Shared printer
d
2.4 or 5 GHz
2.4 or 5 GHz

17
Chapter 2
AirPortExtremeNetworks
To set it up:
1
Connect the printer to the AirPort Extreme USB port (d) or to a USB hub, using
a USB cable.
2
Open AirPort Utility (located in the Utilities folder in the Applications folder on
a computer using Mac OS X, and in Start > All Programs > AirPort on a computer
using Windows), select your base station, and then click Continue.
3
Follow the onscreen instructions to create a new network, if you have not already set
up your network.
If AirPort Utility isn’t installed on your computer, you can download it from
www.apple.com/support/airport.
To print from a computer using Mac OS X v10.5 or later:
1
Choose Apple > System Preferences, and then click Print & Fax.
2
Click Add (+) and select your printer from the list.
3
Click the Add button.
If your printer isn’t in the list, use the buttons in the toolbar to search for it.
To print from a computer using Mac OS X v10.2.7 or later:
1
Open Printer Setup Utility (located in the Utilities folder in the Applications folder).
2
Select the printer from the list.
If your printer isn’t in the list, click Add and choose Bonjour from the pop-up menu, and
then select the printer from the list.
To print from a computer using Windows:
Use Bonjour for Windows (installed with AirPort Utility) to connect your printer.
18
Chapter 2
AirPortExtremeNetworks